







When the door seal needs replacing: signs of wear and causes
The seal is the first barrier between the water and the body of the washing machine. Let's look at the signals by which the owner understands that it's time to replace the gasket, and why this shouldn't be put off.
Cracks, tears and loss of elasticity of the gasket
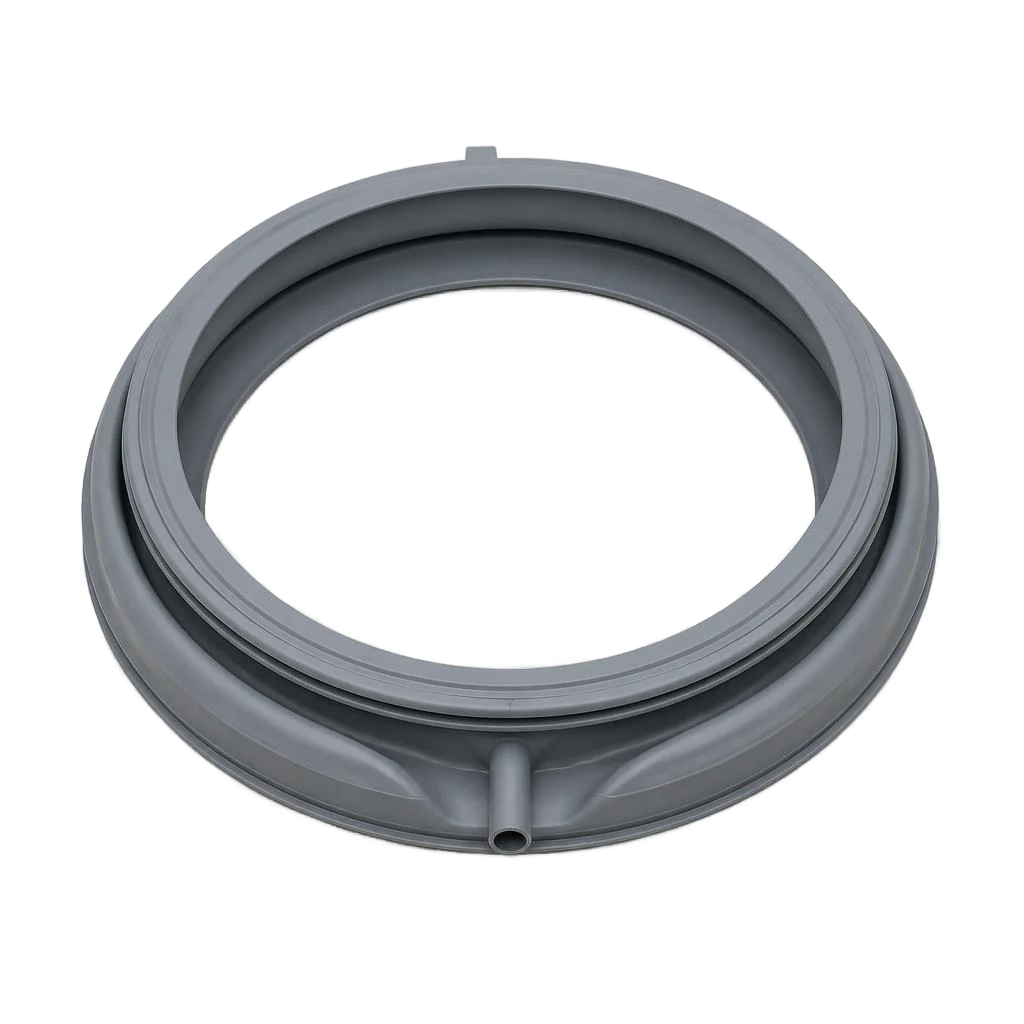
The gasket loses its elasticity after an average of 5-7 years of use, and the first microcracks appear along the inner fold — that's exactly where the rubber undergoes maximum deformation with every wash. The gasket usually has to be replaced earlier on top-loading models and on machines installed in an unheated room: temperature fluctuations accelerate the ageing of the rubber. On Bosch and Electrolux appliances the gasket often lasts longer — the composition of the compound plays a role — whereas on budget Indesit and Ariston models the edge starts to crumble by the fourth year. If you run your finger along the inner fold and a grey trace of rubber remains, the elasticity is already gone, even if there are no visible tears; it's better to replace such a part before a leak appears.
Mould, odour and black deposits on the folds
Black deposits and a persistent musty smell appear when water with detergent residue accumulates between the folds of the gasket — in this environment mould grows into the structure of the rubber within 2-3 weeks. This happens especially quickly when washing at 30-40 °C with liquid gels: they rinse out less effectively and leave behind a nutrient film. On LG and Samsung appliances with a steam function, deposits form less often, but with constant washing in eco mode the folds still remain damp. Surface cleaning with vinegar or a chlorine-based product removes deposits from the visible part, but does not wash the mycelium out of the thickness of the rubber — if the smell returns after 10-14 days, the gasket can no longer be saved.
Water leakage and traces under the machine
Water under the machine after the spin cycle almost always indicates a loss of sealing in the gasket or a loosened clamp — the part stops fitting snugly against the door glass, and water escapes along the bottom edge. On models with a large load capacity (7-9 kg) the clamp loosens more often: during spinning at 1200-1400 rpm, vibration gradually stretches the spring. Before calling a technician, check whether the machine has shifted or the drain hose is kinked — these two causes produce a similar picture, but can be fixed without replacing the seal. If, after levelling the body, water still seeps along the bottom edge of the door, the gasket must be replaced.
What accelerates wear: hard water, overloading and household chemicals
- Hard water: calcium salts settle on the rubber, it loses plasticisers and hardens along the edge.
- Overloading the drum: washing more laundry than the norm stretches the gasket, the fold deforms and cracks faster.
- Washing at 90 °C: regular high-temperature cycles accelerate the ageing of the rubber and wash out its protective additives.
- Excess powder: undissolved granules settle in the folds and act as an abrasive with every rotation of the drum.
- Spinning at maximum: constant 1400 rpm increases vibration and loosens the seal's attachment to the body.
How the hatch seal replacement is carried out: the technician's work stages
We break down the sequence of work from diagnostics to leak testing — this way the owner understands exactly what the technician does and why some operations cannot be skipped.
Diagnostics and selection of the seal for the brand
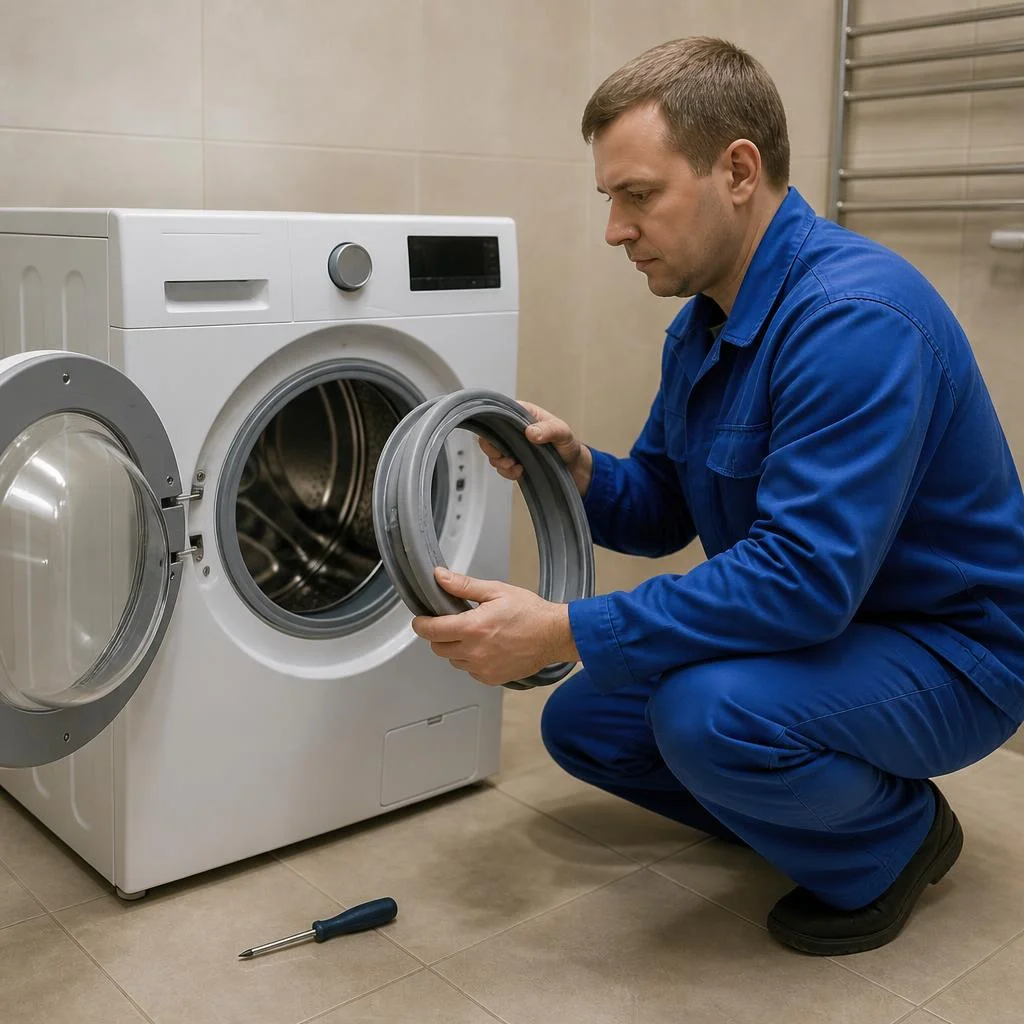
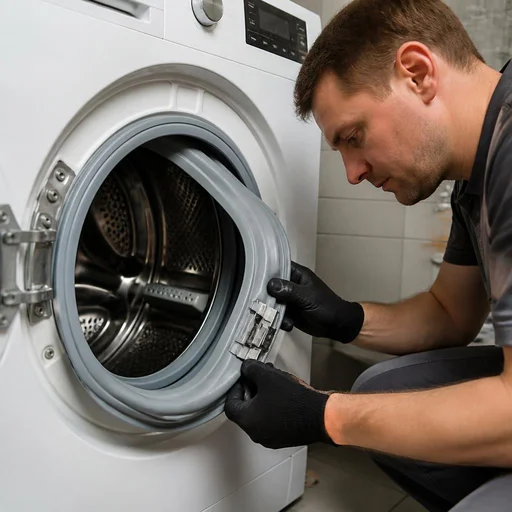
An Eco-Service technician identifies the washing machine model from the rating plate and selects a seal with the exact part number — for Bosch, LG, Samsung, Electrolux, Indesit and Ariston the mounting dimensions and the profile of the folds differ. The rating plate is located on the rear wall or under the hatch: using the code such as WAT24 or the EWF series, the technician checks the catalogue and finds the required seal part number. The mounting diameter varies from 320 to 480 mm, and the number of profile folds — from 2 to 4, so a visual selection "by eye" produces an error in roughly a third of cases. Universal seals are only suitable for machines with a simple hatch profile; on models with an inner fold for the clamp, the universal rubber sits with a gap and begins to let water through in the very first washes. The cost of such work depends on the configuration of the assembly, and it begins precisely with the accurate identification of the part — a mistake at this step nullifies all subsequent work.
Removal of the old seal and cleaning of the mounting seat
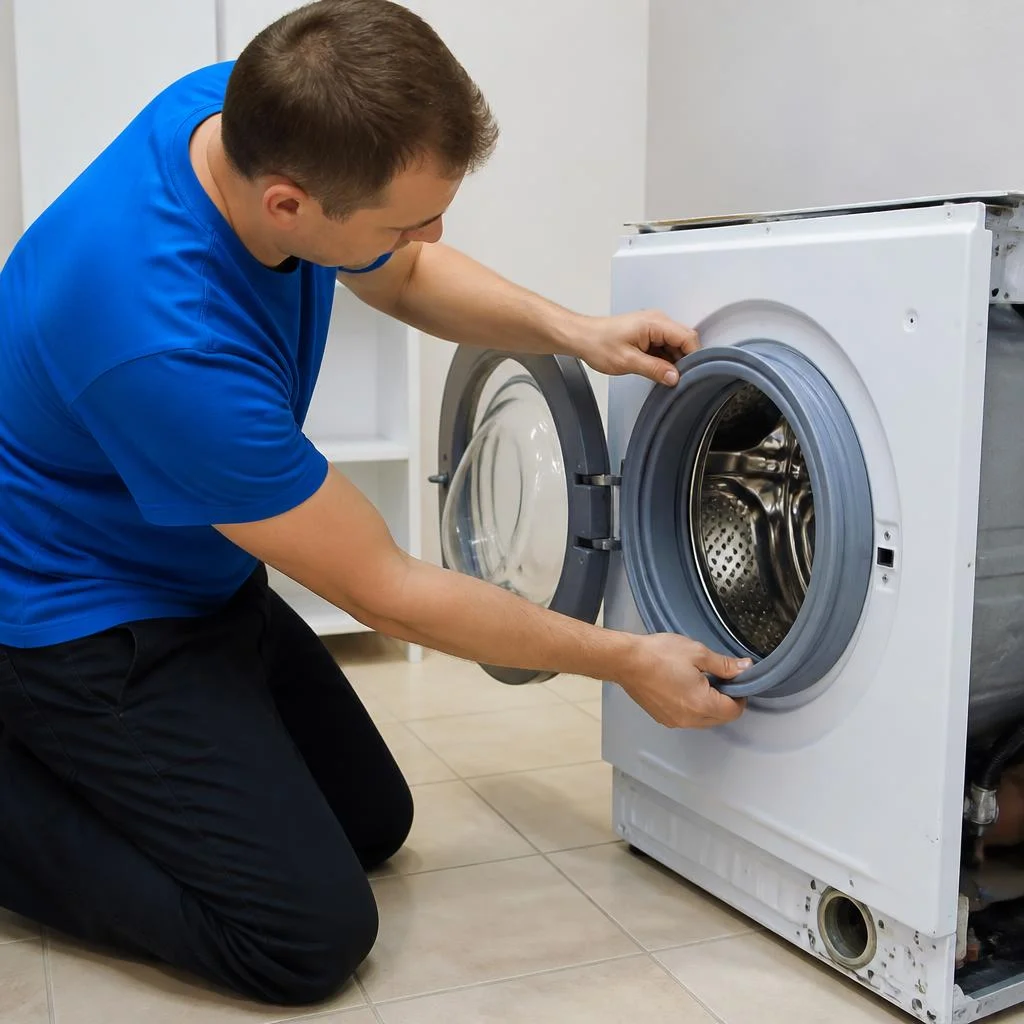
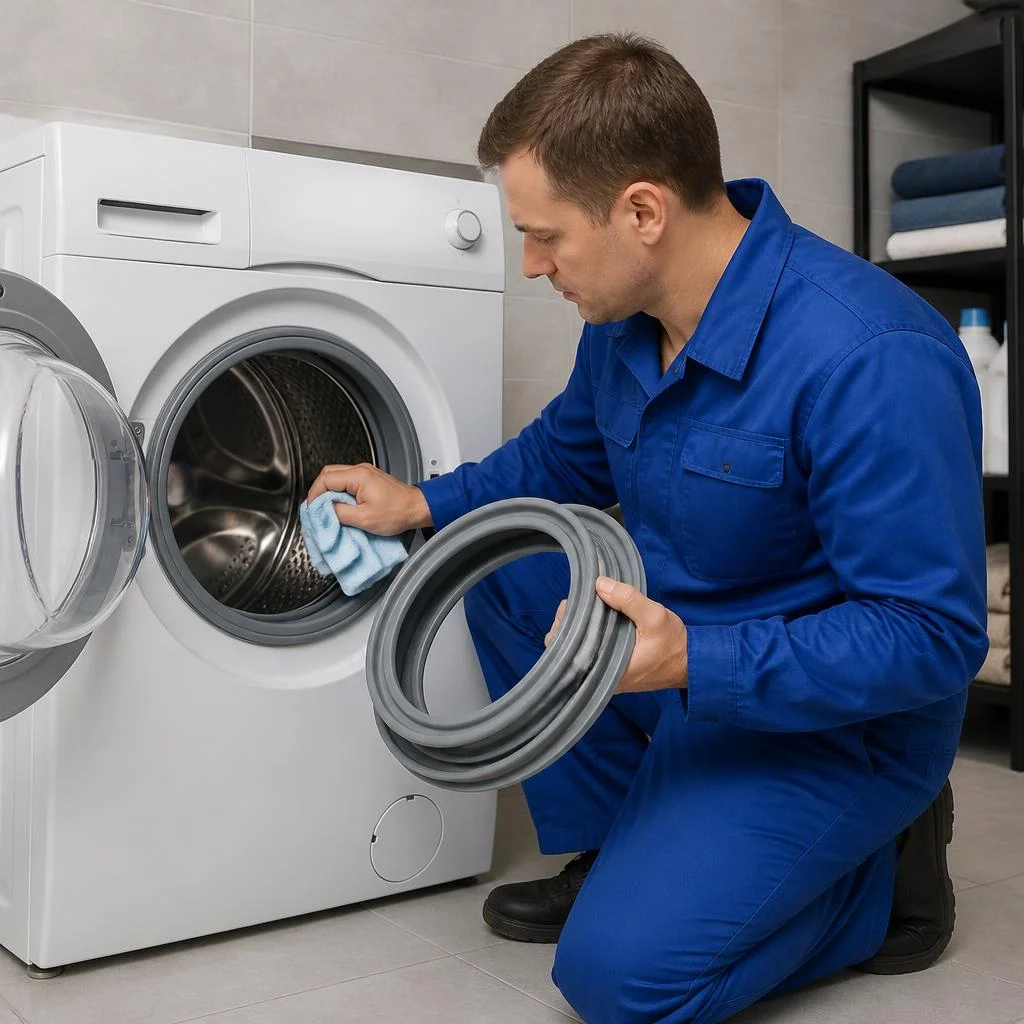
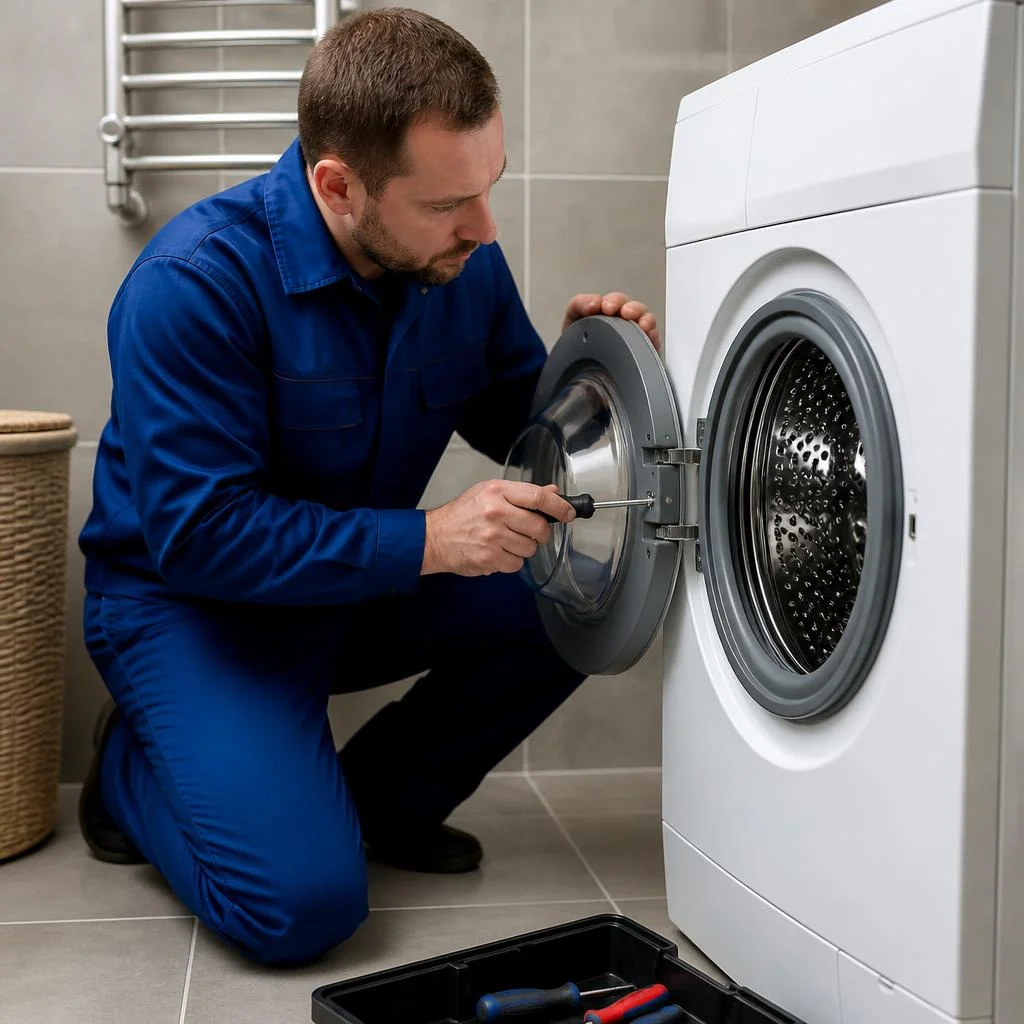
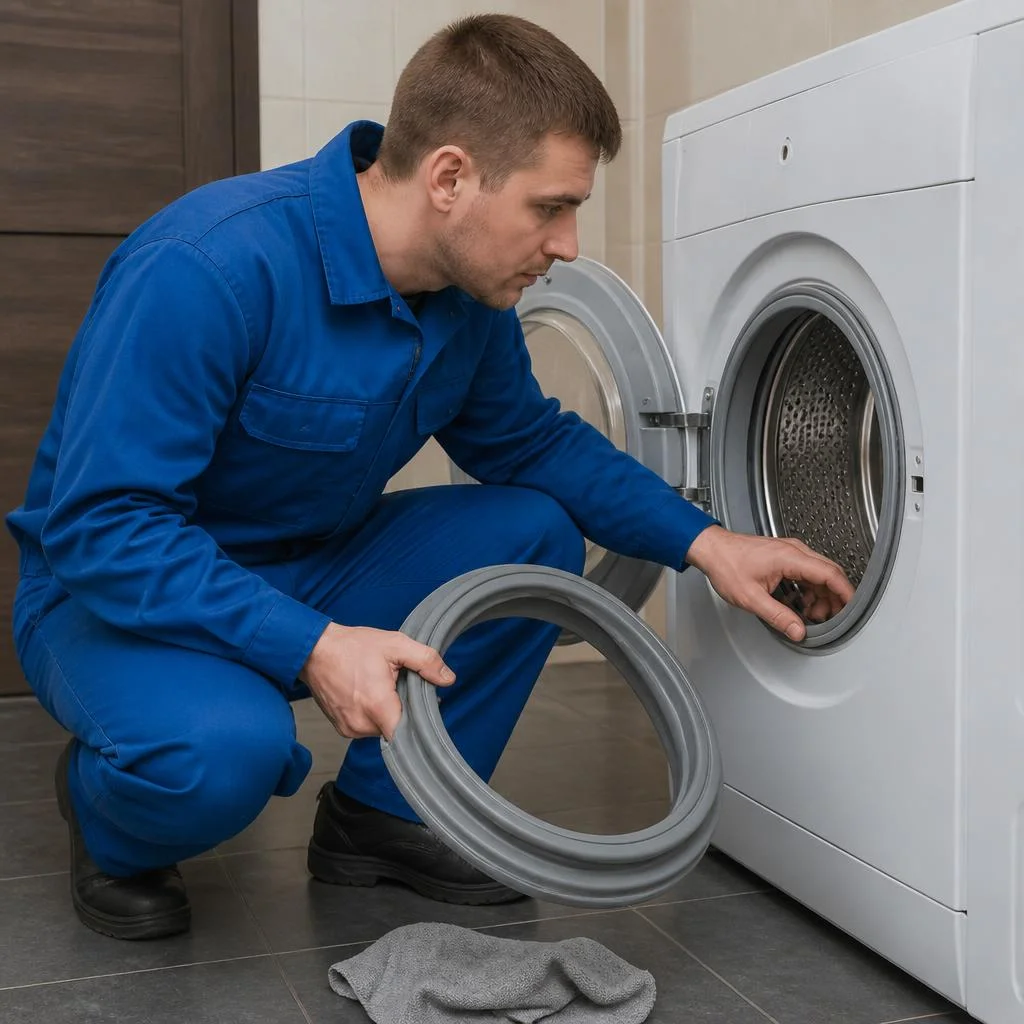
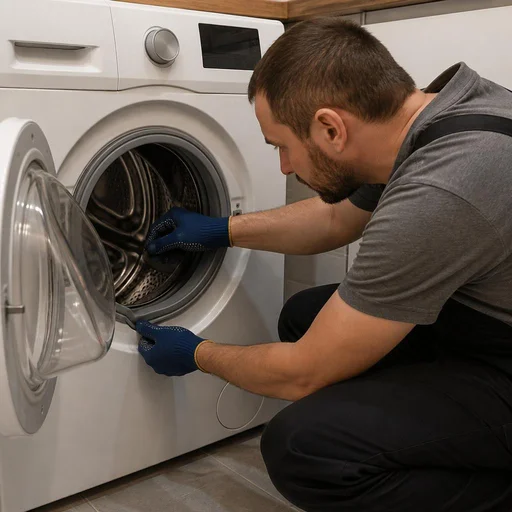
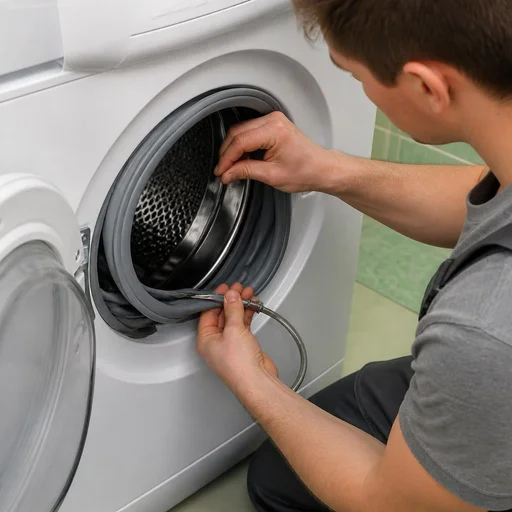
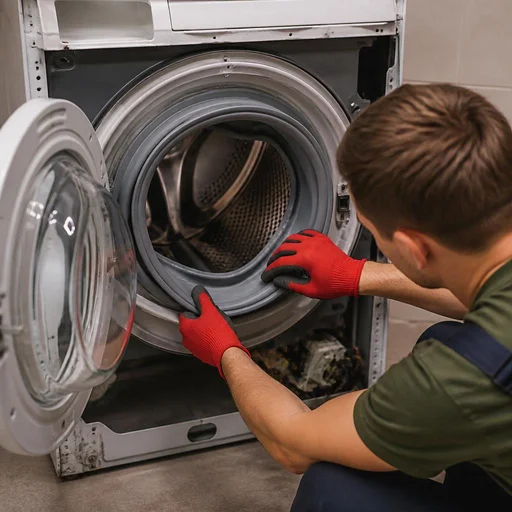
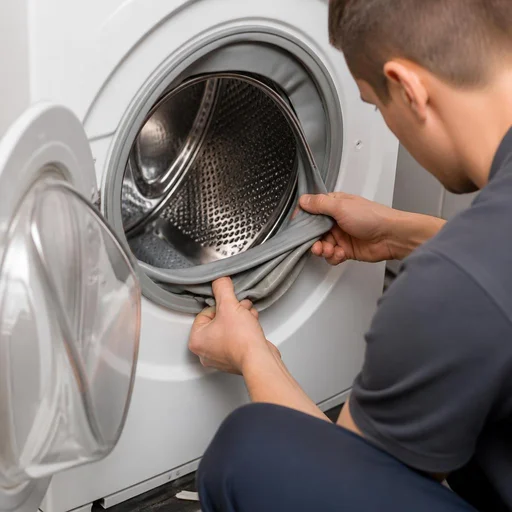
We remove the outer and inner clamps, free the edge of the seal from the housing and the tub, then clean the mounting seat of deposits, remnants of old sealant and rust — without this the new seal will not sit evenly. The outer clamp is removed with a flat-blade screwdriver, the inner one — after compressing the spring with pliers; the edge of the seal is eased out of the groove gradually around the circumference, not with a jerk, otherwise the rubber tears at the base. The mounting seat on the hatch housing is treated with a degreaser and limescale is removed with an abrasive sponge of P320 grit — a wire brush leaves scratches in which dirt accumulates. A thin film of soapstone often remains on the mounting seat: if it is not removed, the new seal fits unevenly and after 2-3 months begins to let water through along the lower edge. That is why we do the cleaning before installation, and not after the first leak.
Installation, sealing and leak testing
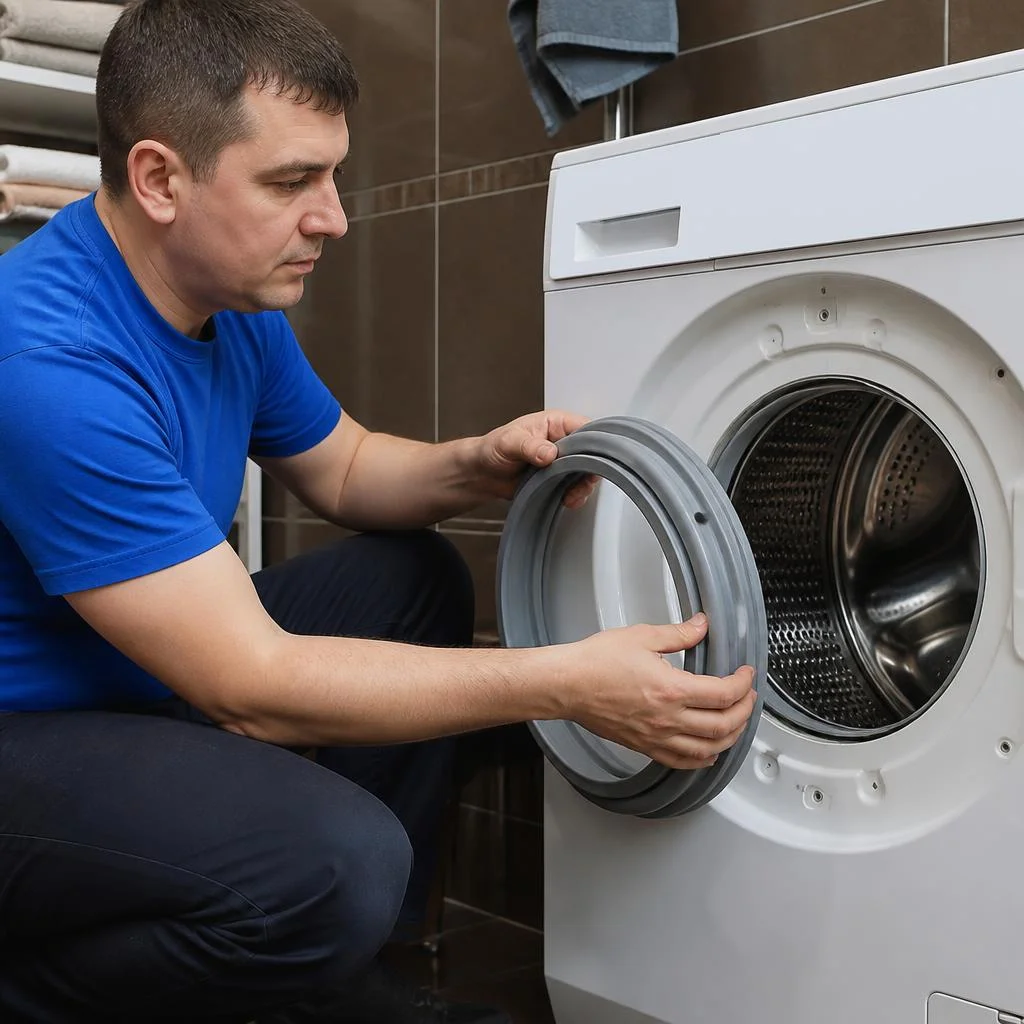
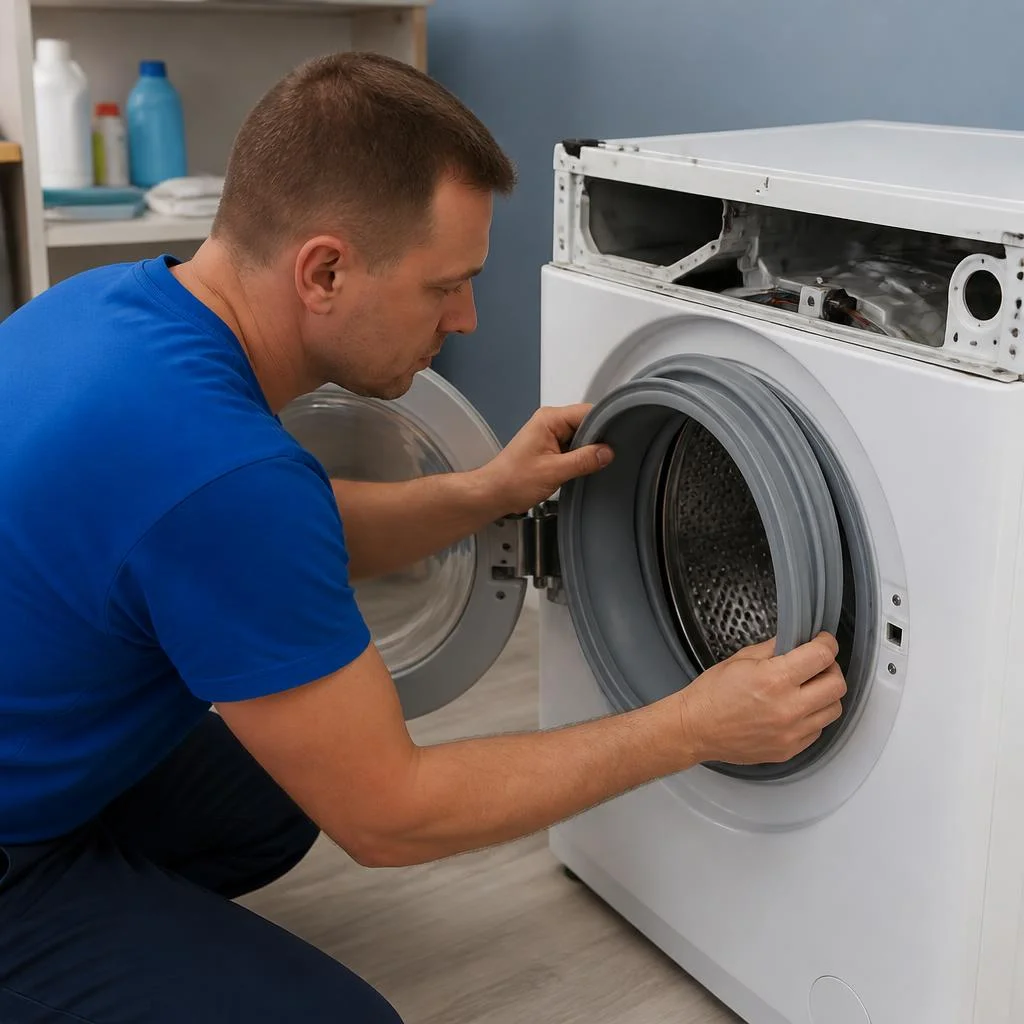
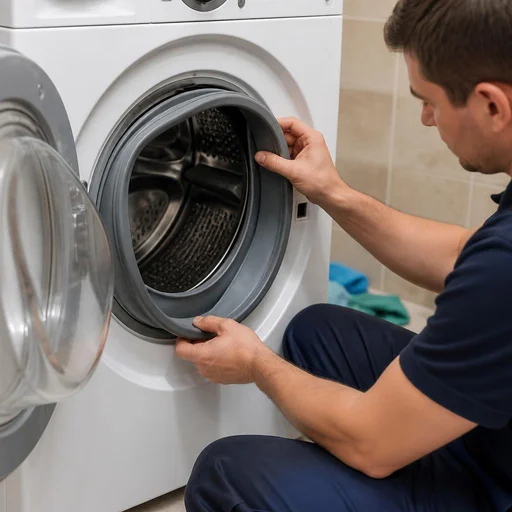
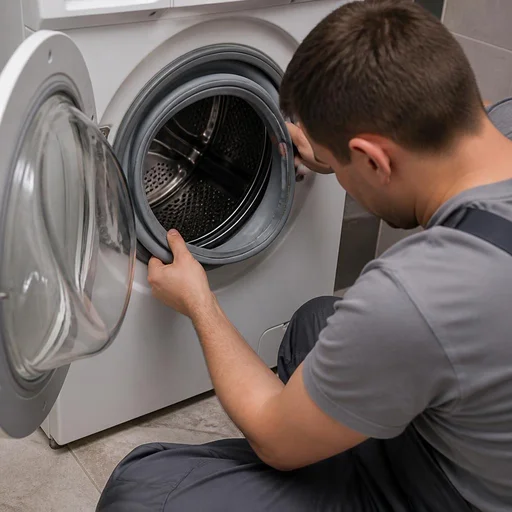
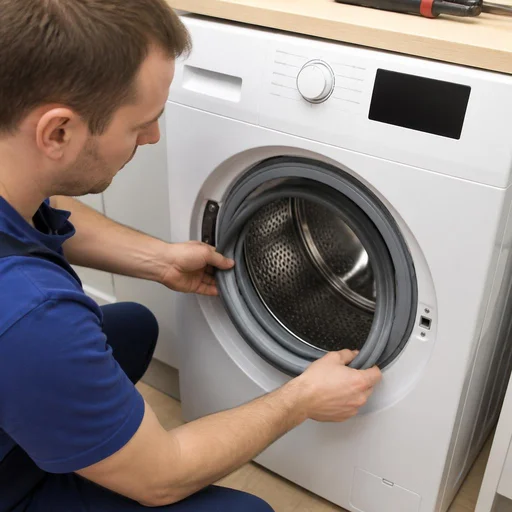
Eco-Service installs the seal, secures it with clamps, applies sealant along the contact edge and runs a test wash — the tightness check shows whether the assembly holds water under pressure. The edge of the seal is eased into the groove of the housing gradually, segment by segment, then the inner clamp is tightened on the tub, and the outer one — on the housing; the sealant is applied in a thin layer along the lower arc, where water accumulates. The test wash is done without laundry and at a medium temperature: this way you can see how the seal behaves when heated, and you can immediately tighten the clamp if a dripping leak appears. After the cycle, the technician checks the dryness of the mounting seat with a cloth and inspects the joint for tears — tightening the clamp takes a minute, while a repeat disassembly of the housing because of a missed drop costs more.
When tub disassembly is needed and what it changes
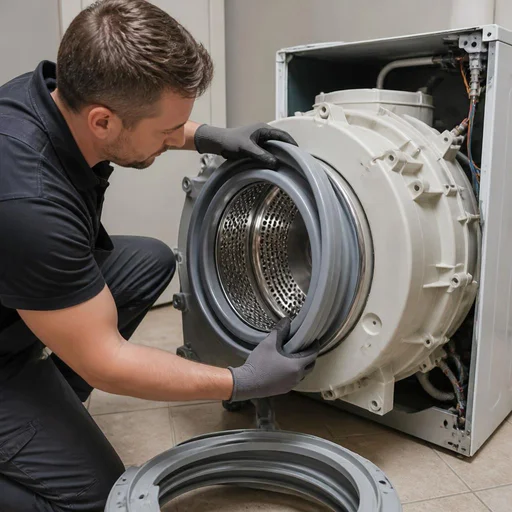
Tub disassembly is needed when the seal is attached to the tub from the inside and cannot be reached through the hatch — on such models Eco-Service removes the tub, replaces the seal and checks the bearing along the way. This design is found in a number of models with a non-separable tub on glued seams and in front-loading machines older than 10 years: to reach the inner edge, the tub is extracted from the housing together with the drum. When removing the tub, the technician inspects the bearing assembly for play and listens to the rotation of the drum — a dry hum or axial displacement of the shaft indicates wear of the support. If during tub disassembly the bearing is already noisy or has play, replacing only the seal is pointless — in a few months the machine will have to be disassembled again, so the check is done right away. The cost of such work is higher than a standard replacement, but one disassembly instead of two saves the owner's time.
Related work: what else gets replaced along with the door seal
When replacing the seal, the technician often finds worn parts of the hatch assembly — here we show what gets replaced along with the door seal and how it affects the machine's operation going forward.
Clamps, spring and hatch lock
We install clamps every time the door seal is removed — steel rings lose their tension and no longer compress the rubber, so a new ring is installed even during careful disassembly of the assembly. We replace the spring and hatch lock if they no longer secure the door: a stretched spring doesn't press the hook, and a burnt-out lock tongue prevents the wash cycle from starting. We can order these parts together with the seal — the technician selects them based on the machine model so the body doesn't have to be disassembled twice. A clamp is cheaper than the seal, but it is most often the cause of a repeat leak: saving on a new ring results in a second technician visit.
Glass, hinge, handle and counterweight
Eco-Service replaces the door glass, hinge, handle and counterweight if chips, play or cracks are visible during disassembly — these parts work in tandem with the seal and affect how tightly the hatch fits. An ABS plastic handle cracks at the mounting point after 4-6 years of active use, the hinge develops 2-3 mm of play, and the concrete counterweight crumbles at the bolt joints. A cracked door glass almost always comes together with hinge deformation: if only the glass is replaced, the door will sit crooked and the seal will start leaking water along the edge.
Drain hose and door adjustment
We replace the drain hose if it has hardened or cracked, and adjust the door after installing the seal — a level hatch fit directly affects the tightness of the assembly. The hose rubber stiffens within 5-7 years even with soft water, and cracks at the clamp cause a leak under the machine that is easily mistaken for seal wear. Replacing a washing machine door seal, the price of which consists of the part itself and the labor, during a single visit costs less than two separate technician visits. Door adjustment is done after a test wash, not before it: under load and heat the body slightly changes its geometry, and only then can you see whether the hinges need adjusting.
Table: what gets replaced along with the door seal
| Work | When it's needed | What it provides |
|---|---|---|
| Clamp replacement | every time the door seal is removed | tight compression of the edge |
| Spring replacement | spring is stretched, door doesn't hold | reliable lock fixation |
| Hatch lock replacement | door doesn't lock | correct wash cycle start |
| Door glass replacement | chips and cracks | leak-tight hatch fit |
| Hinge replacement | play and misalignment of the door | even seal fit |
| Handle replacement | handle is broken or cracked | convenient opening |
| Counterweight replacement | cracks and chips in the concrete | drum stability |
| Drain hose replacement | hardened, cracked | no leaks under the machine |
| Door adjustment | misalignment after seal installation | tight seal along the entire contour |
Related work is more cost-effective to do in a single visit: re-disassembling the body for one part costs the same as the initial disassembly.
Original or equivalent: how to choose a washing machine door seal
We explain how original door seals differ from compatible ones, for which brands it is important to use the original, and how to avoid getting the part number wrong when ordering a part.
How an original door seal differs from a compatible one
An original door seal replicates the fold profile and rubber stiffness of the manufacturer, while a compatible one has a unified profile for several models; we install the original where the equivalent fits with a gap. Compatible parts are produced by third-party manufacturers under license or without it: the rubber in them is often the same for a line of doors with different diameters, so the sealing edge does not fit tightly and water remains in the fold. On Bosch and Siemens machines, the equivalent often requires trimming the inner bead, while on LG and Samsung it requires tightening the outer clamp beyond the standard force. A compatible door seal may be softer than the original: it seats more easily, but stretches faster under hot water — on machines with frequent washing at 60-90 °C this becomes noticeable within a year. In my opinion, saving on the part is justified only for machines older than 8-10 years, where the wear on the tub no longer justifies investing in the original.
Selection specifics for Bosch, LG, Samsung, Electrolux, Indesit, Ariston
On Bosch and Siemens, the door seal is attached to the tub with an inner clamp, on LG and Samsung with an outer one, while on Electrolux, Indesit and Ariston the fold profile differs in depth; our technician selects the part by the model's part number. The inner clamp on Bosch is hidden behind the front panel, so replacing it requires partial disassembly of the housing, whereas the outer clamps on LG and Samsung can be removed without dismantling the tub. Electrolux has a double sealing contour in a combined attachment, while Indesit has thinner rubber and a softer profile — such seals more often lose elasticity in hard water. Ariston uses a narrow seating edge, which is why selection by photo is essential: similar models from the same brand differ in door diameter by 10-15 mm. The door seal's part number does not always match the machine's part number: within one brand, the same model was produced with two types of door, so the part is verified by photo of the seating area.
Table: door seal profile by brand
| Brand | Attachment type | Profile feature |
|---|---|---|
| Bosch | inner clamp | deep inner fold |
| LG | outer clamp | wide sealing edge |
| Samsung | outer clamp | reinforced lower fold |
| Electrolux | combined | double sealing contour |
| Indesit | outer clamp | thin rubber, soft profile |
| Ariston | outer clamp | narrow seating edge |
If it is unclear how much it costs to replace a washing machine door seal in a specific case, this is clarified after diagnostics: the final cost depends on the attachment type and whether the tub needs to be disassembled.
Prevention and care: how to extend the service life of the door seal
A few everyday habits noticeably delay the moment when you will need washing machine door seal replacement Moscow — we explain what to do after every wash, what to clean the seal with, and which cycles are gentler on the rubber.
What to do after every wash
- Wipe the folds dry: after the spin cycle, go over the entire perimeter of the seal with a dry cloth, including the inner fold where water accumulates.
- Leave the door ajar: between washes, keep the hatch and the detergent drawer open — air circulation dries out any remaining moisture within 2-3 hours.
- Remove small debris: take coins, lint and pet hair out of the folds right away, otherwise they trap water and speed up wear.
- Check the drainage holes once a month: clogged channels in the lower part of the seal lead to stagnant water and odours.
- Watch the detergent dosage: excess detergent leaves a film on the rubber that collects dirt and makes it harder for the seal to dry.
What to clean the seal with to remove deposits and mould
For regular cleaning, a weak citric acid solution or a specialised washing machine cleaner will do; chlorine-based products should be used only on specific spots and no more than once a month. Wipe the folds with a soft sponge, moving from the edge towards the base, without stretching the rubber. For stubborn black deposits deep in the fold, an active-oxygen gel helps: apply it for 20-30 minutes, then rinse with warm water. Chlorine dries out the rubber and speeds up the loss of elasticity — if you clean the seal with it every week, it will start crumbling at the edge ahead of time, and then washing machine door seal replacement will become a matter of the next few months.
Wash cycles that are gentle on the seal
Washing at 30-40 °C and without overloading the drum extends the service life of the seal: the rubber is heated to its limit less often and deforms less during the spin cycle. Load the drum to no more than two-thirds of its volume — with a full load, the laundry presses against the seal from the inside and stretches the fold. A spin at 800-1000 rpm instead of the maximum 1400 reduces vibration, which causes the seal to shift relative to its seating position. Boiling at 90 °C is justified only for bed linen and towels — everyday clothes don't need it, and it noticeably accelerates seal wear. If your home has hard water, run an empty cycle with citric acid once a quarter: limescale on the edge of the seal makes the rubber stiff and brittle.
Warranty, timelines and terms of Eco-Service work
We explain how the service works: how long the warranty on hatch seal replacement lasts, how quickly a technician arrives, and what an in-person appointment at the workshop provides.
2-year warranty on work and parts
We provide a 2-year warranty on hatch seal replacement and installed parts — if a leak occurs during this period due to our fault, a technician will come and fix it free of charge. The obligation also covers related work: replacement of clamps, springs, hatch locks, door adjustment and sealing of the seating area. When contacting us, it is enough to provide the order number or show the work report — repeat diagnostics for a warranty case is not charged. The warranty remains valid if the client has not disassembled the hatch assembly themselves: any interference with the seal installation area voids the obligations, even if the breakdown is unrelated to it.
Home visits by a technician and work timelines
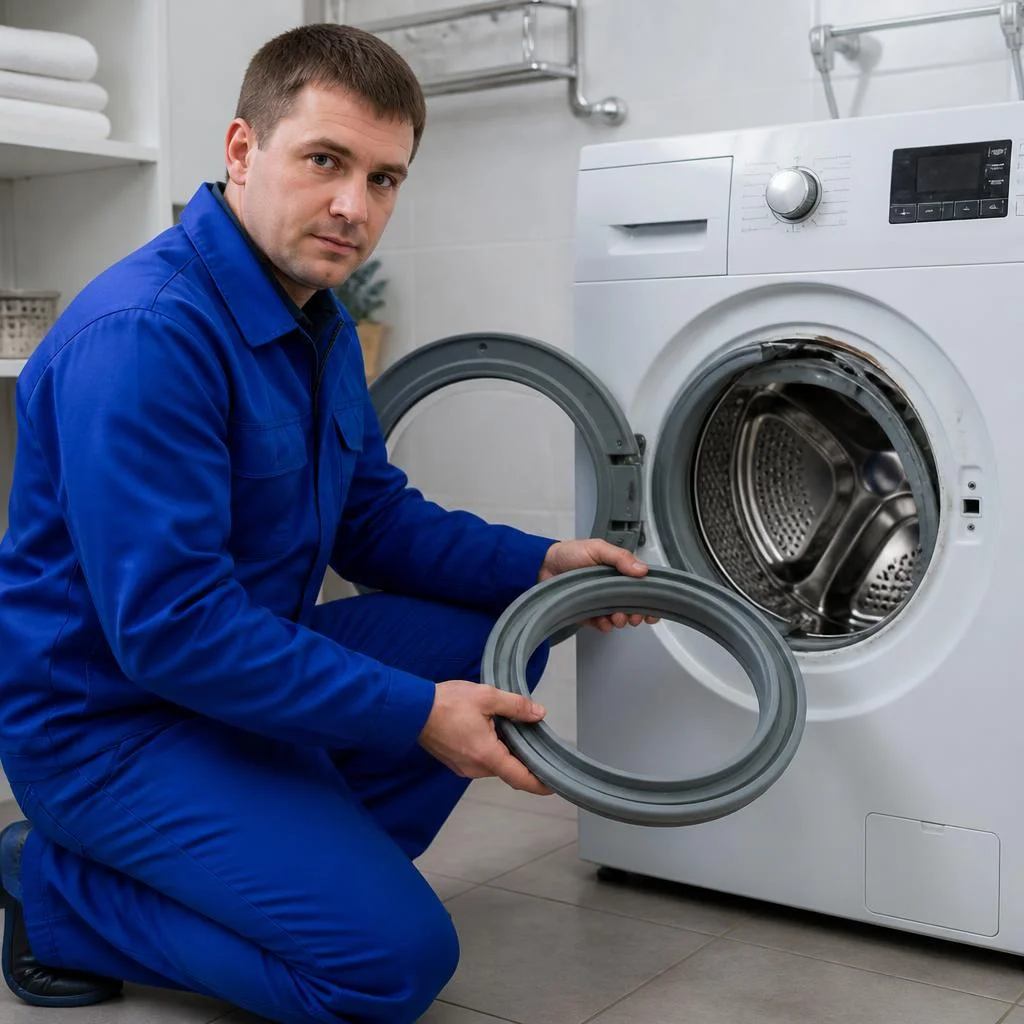
The technician comes to your home with tools and a pre-selected seal; a standard replacement takes 40-60 minutes, and work involving drum disassembly takes up to two hours. Before the visit, we confirm the washing machine model — Bosch, LG, Samsung, Electrolux, Indesit or Ariston — and check the seal profile against the catalogue so we don't bring two seals instead of one. For Moscow visits, we schedule on the day of request or the next day; the technician arrives within the agreed time slot, not "sometime during the day." It's best to book the exact visit time for the morning: if bearing wear is discovered during disassembly, the technician will have enough time to finish the job the same day. The price of washing machine hatch seal replacement depends on the fastening type and is confirmed after diagnostics. By the way, clients often ask about "washing machine seal replacement price" over the phone — we give the final cost after inspecting the hatch assembly.
Our own service centre and device intake
We have our own service centre in Moscow: you can bring the machine for an in-person appointment or call a technician to your home — both options provide the same 2-year warranty. Requests for seal replacement with a Moscow home visit most often come from owners of machines requiring deep disassembly: the workshop has lifting equipment, a leak-testing stand and a stock of clamps, springs and locks for common models. An in-person appointment is convenient for machines requiring drum disassembly: the work isn't stretched over several visits, and bearing diagnostics are done on site. For large models with a counterweight of 8 kg or more, workshop intake is preferable — at home it's harder to ensure stable support when removing the drum.
Conclusion
Let's summarise hatch seal replacement: we've gathered the main practical takeaways on when to replace the part, what to check at the same time, and how to postpone the next repair.
Key takeaways
- Reason for replacement: the seal is replaced when there are cracks, loss of elasticity, persistent mould smell or a leak under the machine — it's not worth waiting until it completely tears.
- Drum disassembly: only needed on models with an internal seal fastening; in other cases, the work is done through the hatch.
- Related work: along with the seal, clamps, lock, hinge and bearing are checked — it's cheaper to do everything in one visit.
- Original or aftermarket: the original is preferable to a compatible part on machines with frequent high-temperature washing.
- Prevention: drying the seal after washing, leaving the door ajar and washing at 30-40 °C extend the seal's service life.